Images
Inertia Table may render images inside any column. Use the dedicated ImageColumn for image-only cells, or call image() on any other column type (like TextColumn) to render an avatar in front of a name. The Image class lets you set the URL via Eloquent attributes, signed routes, or temporary signed routes; style it as small, medium, large, or rounded; display multiple images with a +N overflow indicator; and define fallback slots for missing URLs.
The Image Class
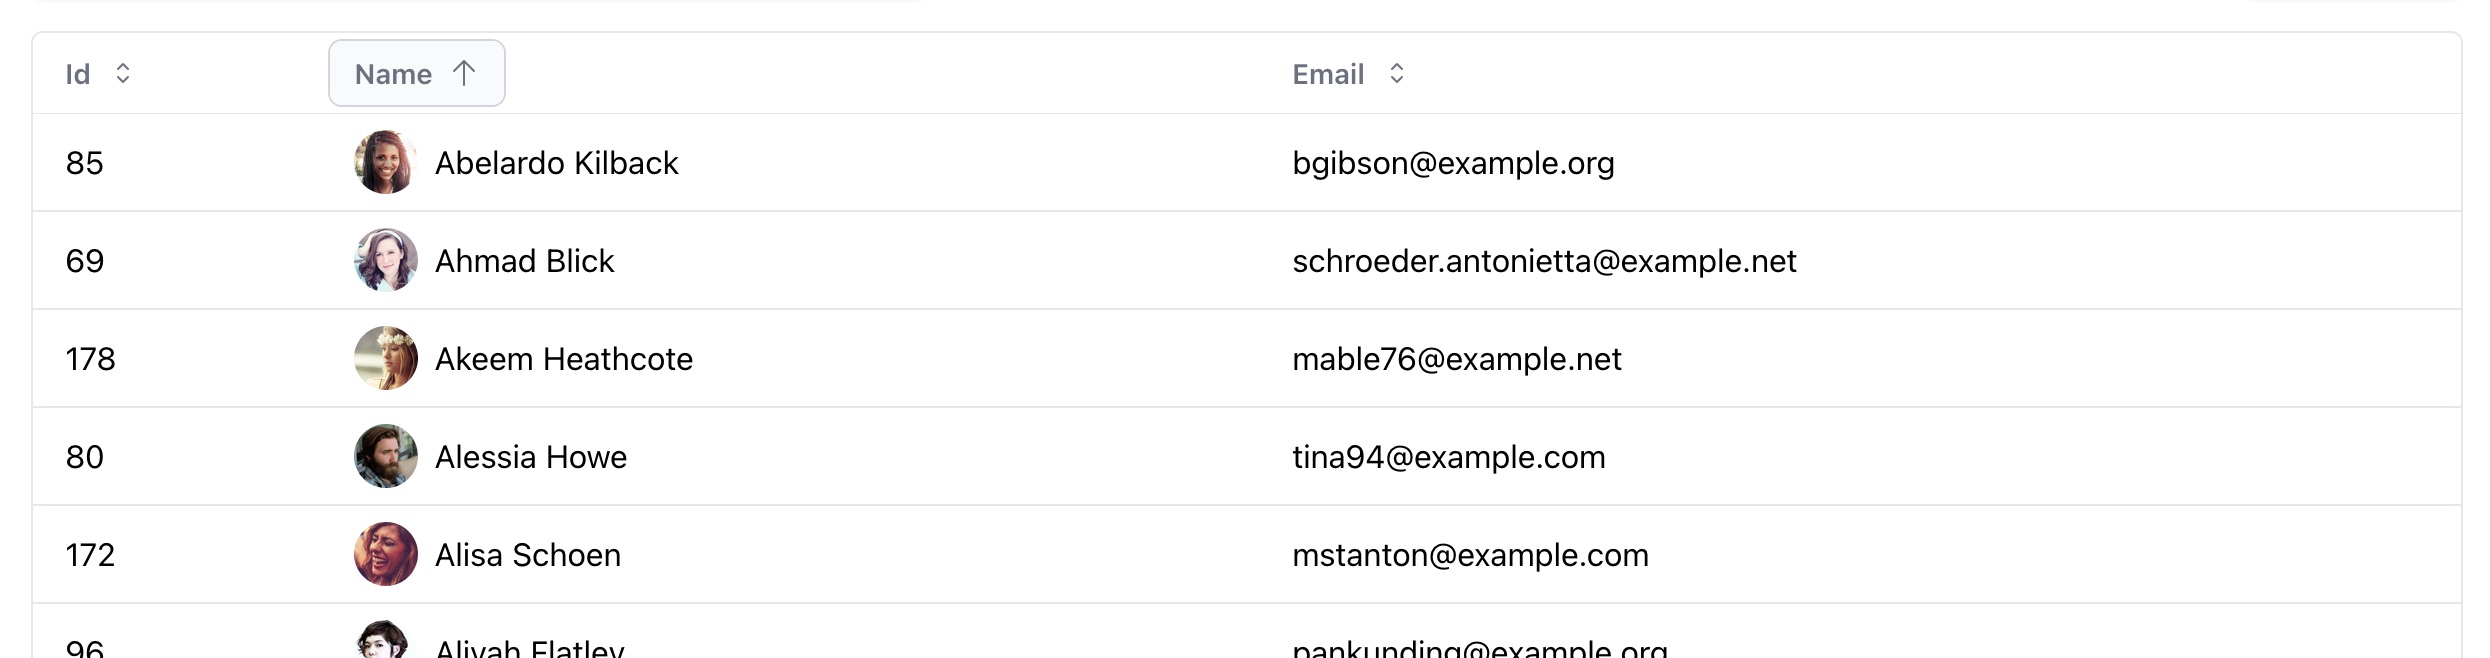
On a column instance like TextColumn, call the image() method to render an image in front of the text value. It accepts a callback that receives the Eloquent model and an Image instance you may use to configure the image:
use InertiaUI\Table\Image;

TextColumn::make('name')->image(function (User $user, Image $image) {
    return $image->url($user->avatar_url);
});
The Image class has the following methods to set the URL:
$image
    ->url($user->avatar_url)
    ->to($user->avatar_url) // Alias of url()
    ->route('users.avatar', $user) // Equivalent to URL::route()
    ->signedRoute('users.avatar', $user) // Equivalent to URL::signedRoute()
    ->temporarySignedRoute('users.avatar', now()->addHour(), $user); // Equivalent to URL::temporarySignedRoute()
Styling the Image
The Image class lets you style the image, for example by rounding it or changing its size. Use the ImagePosition and ImageSize enums, or the helper methods:
use InertiaUI\Table\ImagePosition;
use InertiaUI\Table\ImageSize;

// Render the image fully rounded (applies the 'rounded-full' class)
$image->rounded();

// Set the image size using the ImageSize enum
$image->size(ImageSize::Large);

// Helper methods to set image size
$image->small(); // Uses the 'size-4' class
$image->medium(); // Uses the 'size-6' class
$image->large(); // Uses the 'size-8' class
$image->extraLarge(); // Uses the 'size-10' class

// Position the image at the start or end of the cell
$image->position(ImagePosition::Start);

// Helper methods to set image position
$image->start();
$image->end();
Instead of size(), you may set dimensions manually via width(), height(), and dimensions():
$image->width(80);
$image->height(45);
$image->dimensions(80, 45); // Sets both width and height
You may also use the class() method to add custom classes to the image:
$image->class('border border-red-500');Ensure your Table class path is included via an @source directive in your CSS file so Tailwind detects these classes during the build. See the detecting classes in source files documentation for details.
Alt and Title Attributes
Use the alt() and title() methods to set the image's alt and title attributes:
$image->alt($user->name);
$image->title($user->name);
Alternative Syntax
Instead of a callback, you may pass the name of the Eloquent attribute that holds the image URL directly to image():
TextColumn::make('name')->image('avatar_url');To customize the image while using this syntax, pass a callback as the second argument:
TextColumn::make('name')->image('avatar_url', fn (Image $image) => $image->rounded());Using Icons
Instead of an image, you may display an icon by calling the icon() method on the Image instance. See the Icons documentation for details.
Columns\TextColumn::make('id')->image(function (User $user, Image $image) {
    return $image->icon($user->company ? 'BuildingOfficeIcon' : 'UserIcon');
});
The ImageColumn class
The ImageColumn class is a specialized column that only renders images. Like other columns, you may call the image() method to configure the image.
ImageColumn::make('avatar_url', header: '')->image(function (User $user, Image $image) {
    return $image->rounded()->large();
});
Displaying Multiple Images
To display multiple images in a single cell, you may pass an array of URLs:
$image->url($user->friends->pluck('avatar_url')->all());To limit the number of displayed images, use limit(). In the example below, a user with five friends renders the first three avatars followed by a +2 indicator:
$image->url([...])->limit(3);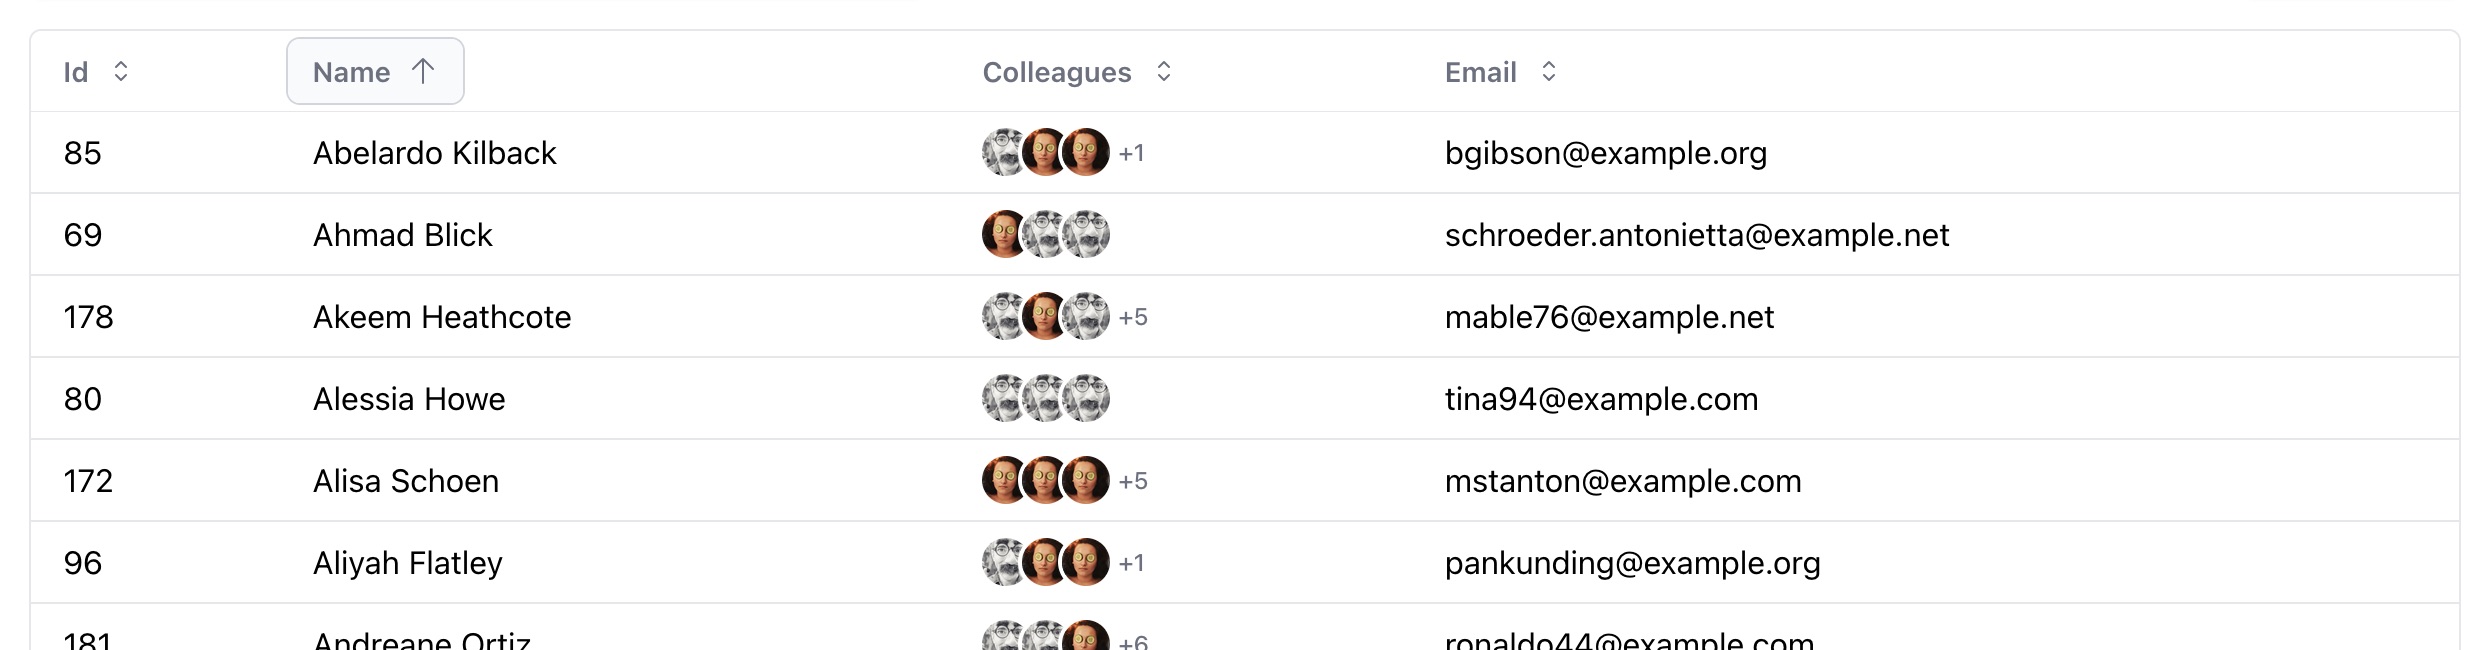
Fallback Slot
An empty image URL with no icon falls back to the frontend. In Vue, use a dynamic slot name that corresponds to the column key (image-fallback(name)). In React, pass an object to the imageFallback prop.
<Table :resource="users">
    <template #image-fallback(name)="{ item }">
        <UserCircleIcon />
    </template>
</Table><Table
resource={users}
imageFallback={{
name: ({ item }) => <UserCircleIcon />
}}
/>Besides the item prop, it also receives a column, value, image, and table prop. The image prop represents the Image class configuration.
Image Slot
For full control over image rendering, use the image slot, which mirrors the image-fallback slot and receives the same props:
<Table :resource="users">
    <template #image(name)="{ item }">
        <CustomImageComponent :src="item.avatar_url" />
    </template>
</Table><Table
resource={users}
image={{
name: ({ item }) => <CustomImageComponent src={item.avatar} />
}}
/>